Interface
Overview
MicroScope’s interface is organized around the notion of tools (also called methods): most pages display the results computed by a dedicated tool for the current reference genome or a reference sequence (the name of the current sequence or genome is displayed in the top right corner of the navigation interface).
The picture below gives an overview of the typical interface (in this case the Genome Browser):
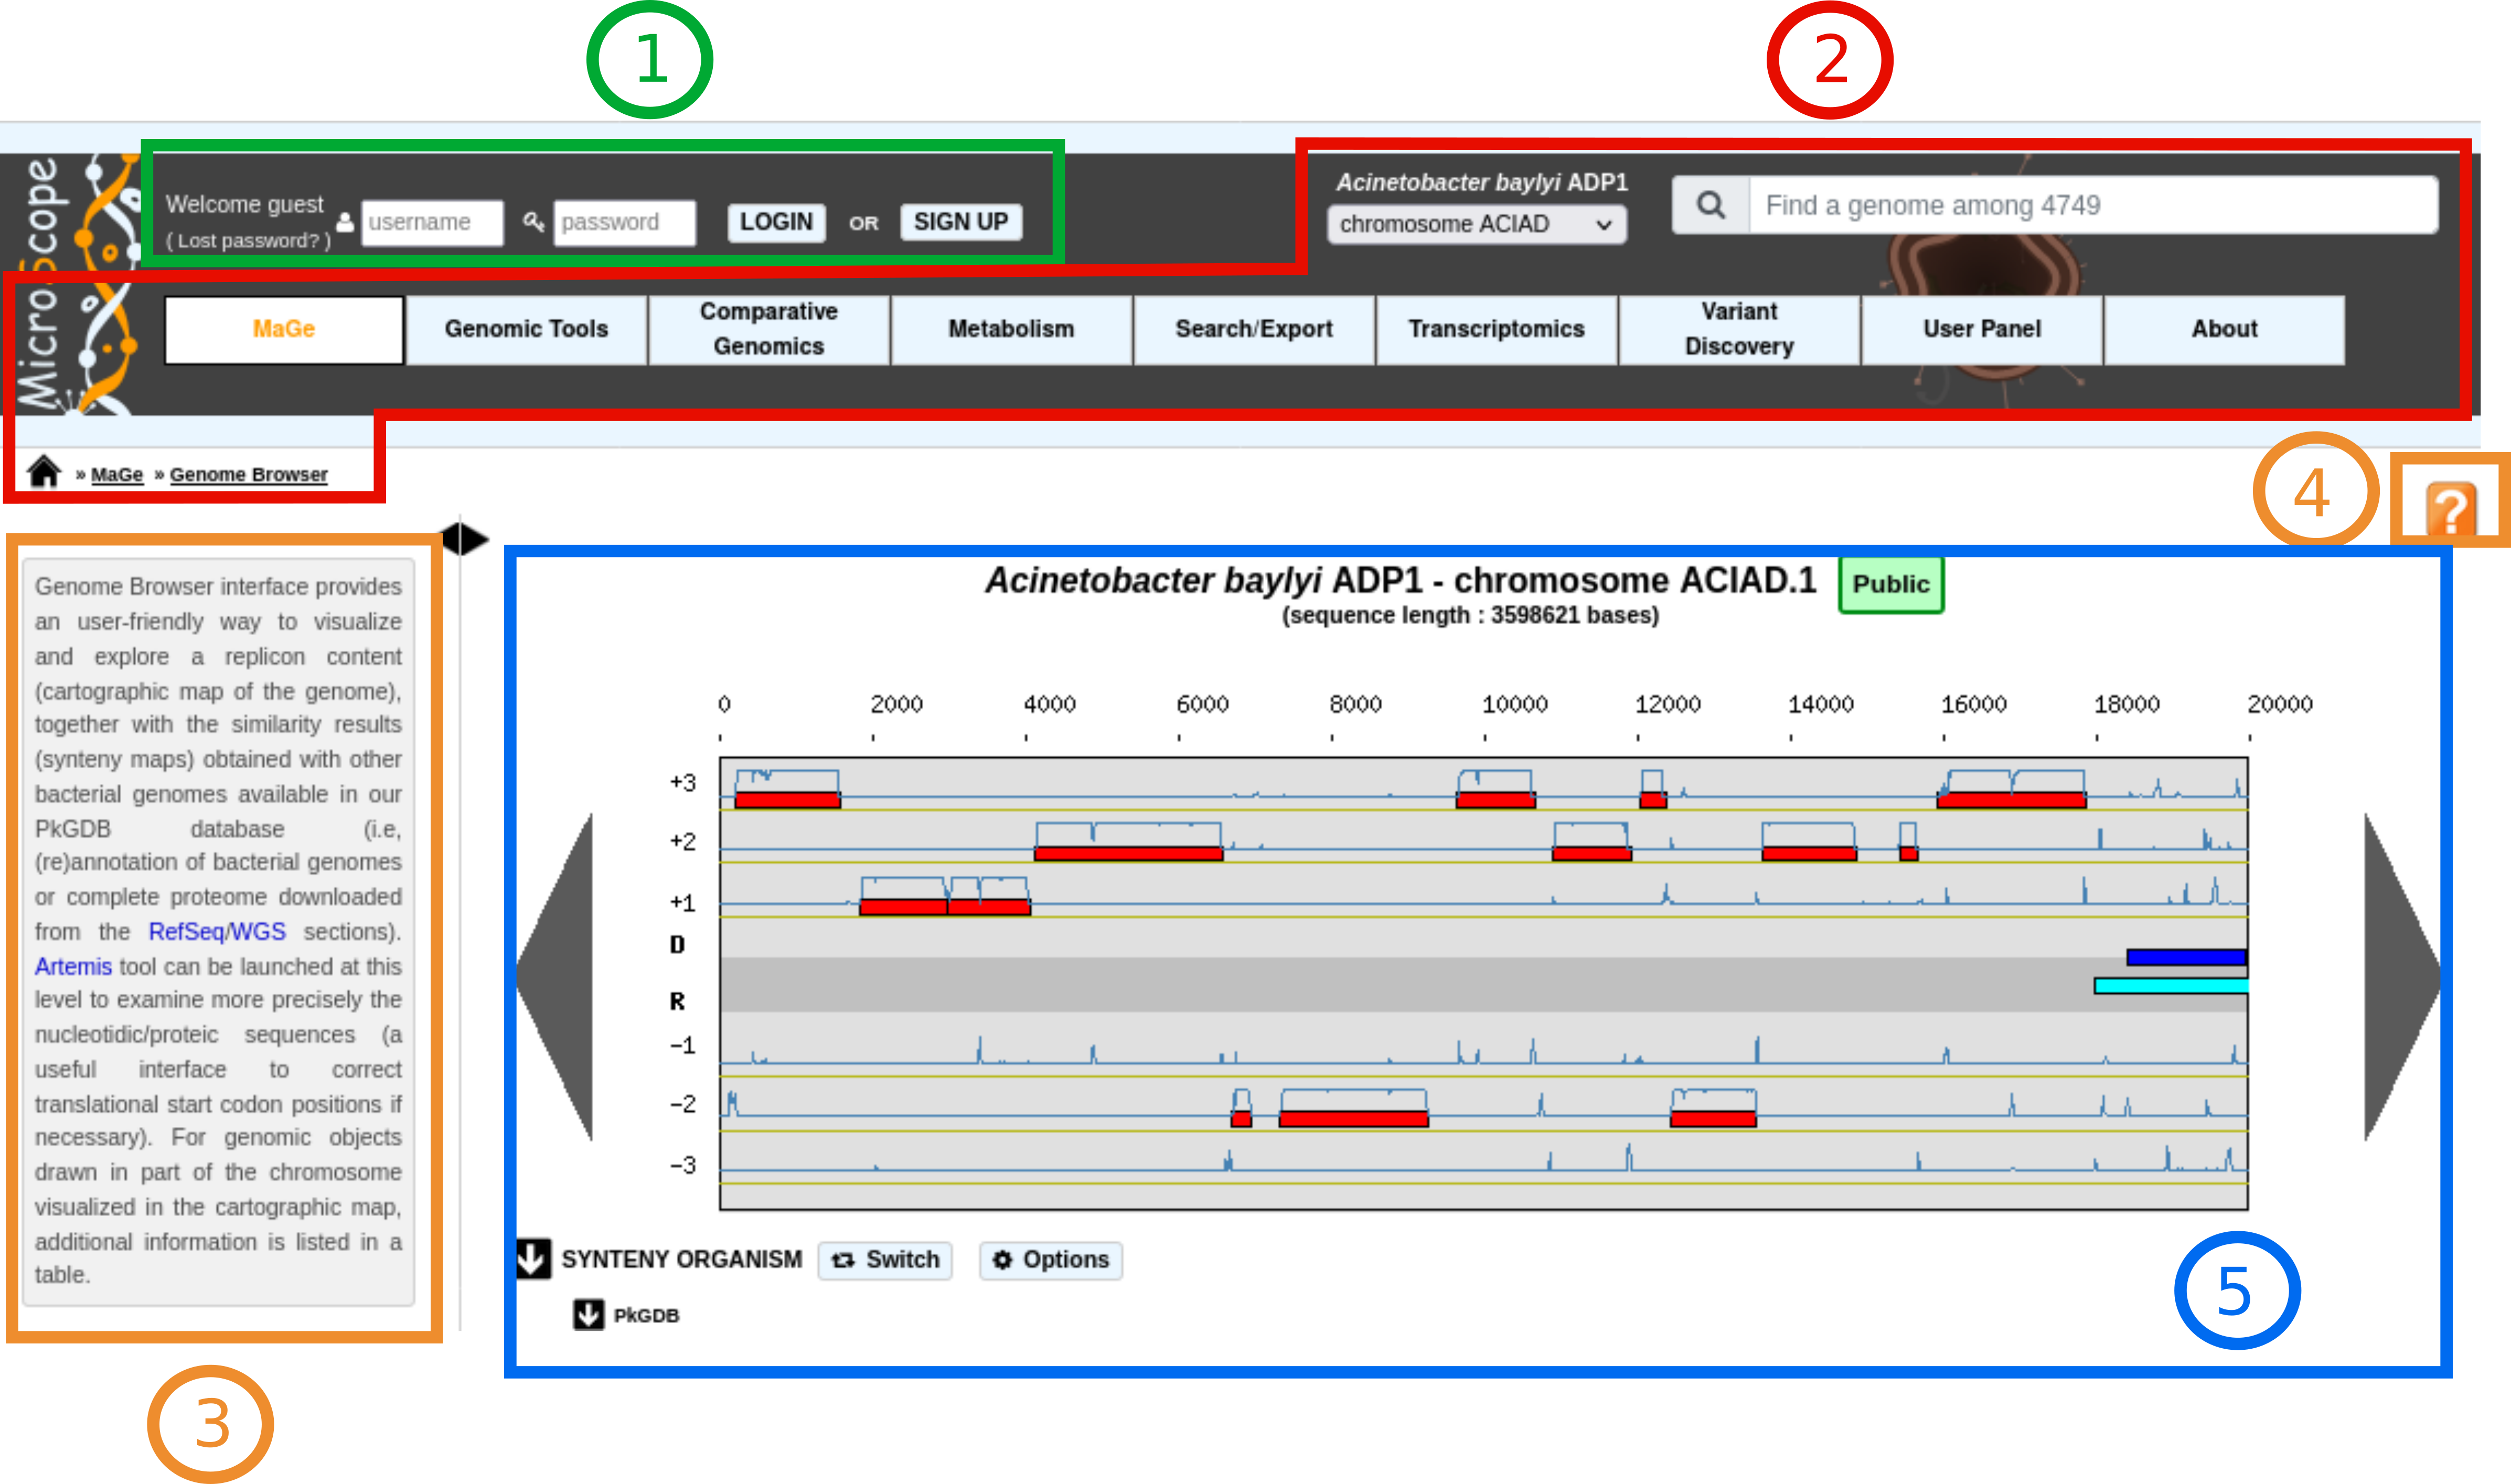
The window is composed of several parts:
Item #1 Login Interface: this parts allows you to log in (see here for more information). Once logged in, you will have access to all public sequences, as well as private sequences to which you have access (see here for more information). Some functionalities are accessible only if you are logged in. You can also click on the SIGN UP button to Register an Account.
Item #2 Navigation interface: this part of the interface allows to navigate between the tools, change the reference sequence, etc. (see below for a detailled description).
Item #3 Quick documentation sidebar: this comopnent offers a quick description of the current page.
Item #4 Link to documentation: clicking on this button will redirect to the help page of the current page.
Item #5 Result part: the central part of the interface is used to display the results of the current page. Many pages use tables to display the results (see below for a detailled description of the tables).
Navigation interface
The navigation interface is composed of several parts:

Item #1. Navigation menu: This menu is used to navigate between the different tools. Tools are grouped into sections (the entries you see on the image). The organization of this tutorial matches those sections. Item #2 displays the current section and tool.
Item #3. Sequence selector & Genome selector: This component is used to switch to another replicon of the current genome or to change the current genome. See here for more information.
Browsing Result Tables
How to sort results?
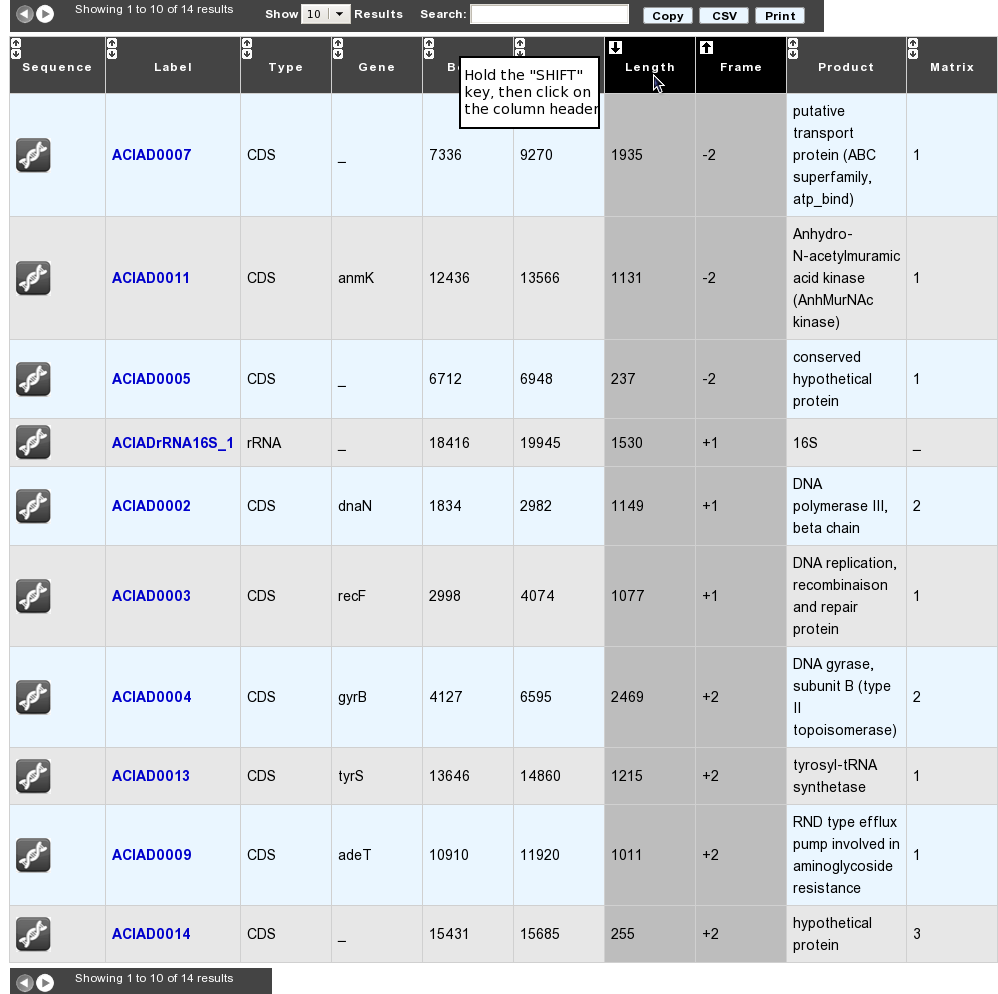
Most of result tables provide a default sort (grey-coloured column). To sort results as you wish, simply click on the corresponding column header. Each click will alternate between ASC (ascending order) sort or DESC (descending order) sort. Also, the system provides a multi-sort functionality, to sort and switch on multiple columns. Simply hold your «SHIFT» key and click on column headers you want to multi-sort.
How to filter results?
Each result table provides a text area called «Search:» . Enter some characters into this box in order to filter results: each row matching your keywords will be kept, whereas the others will be hidden dynamically.

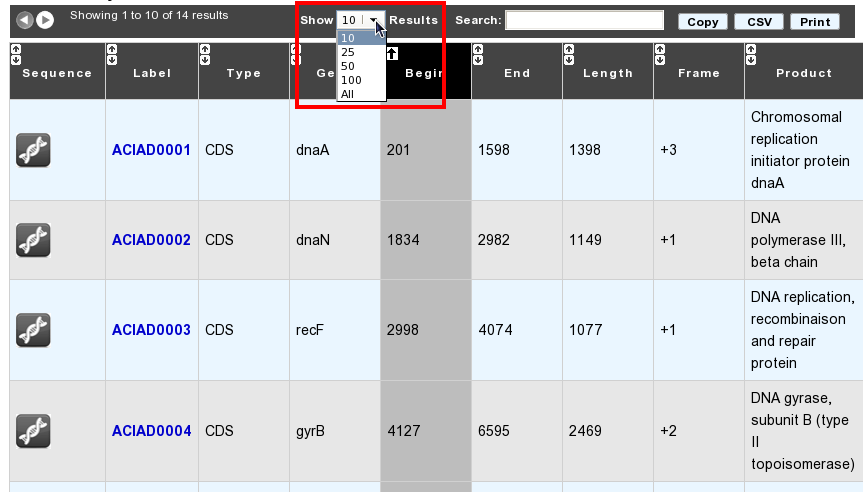
How to choose the number of results to display per page?
Each result table provides a select menu called «Show X Results». Change the value to display the corresponding number of results per page. Values are: 10 (default), 25, 50, 100 or All.
How to export results?
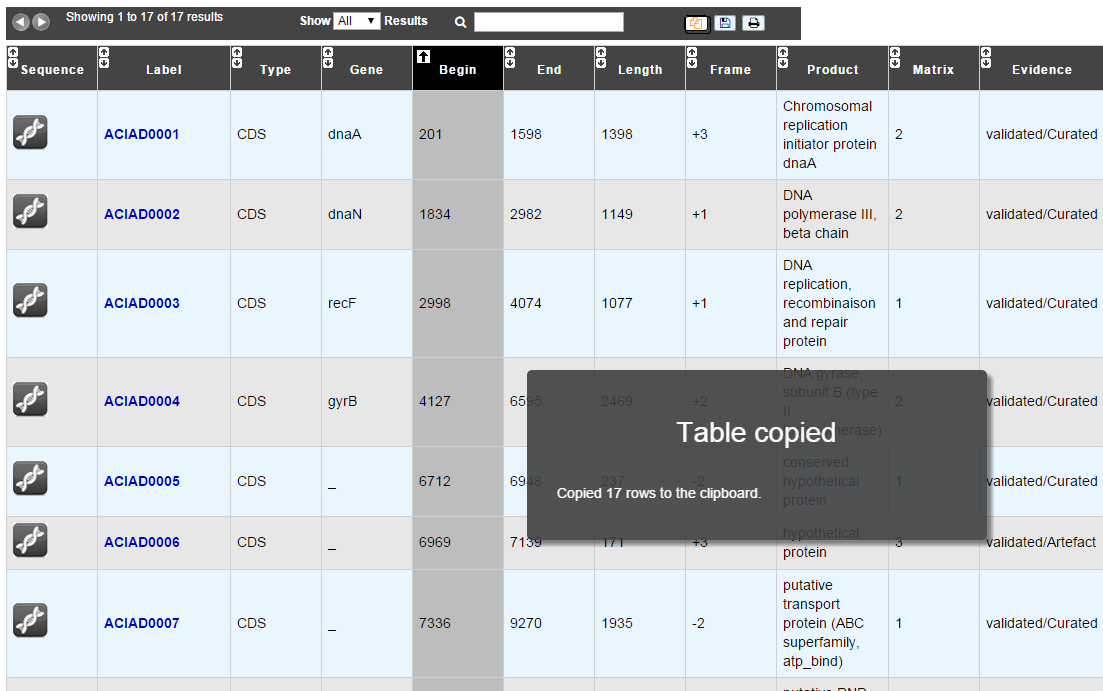
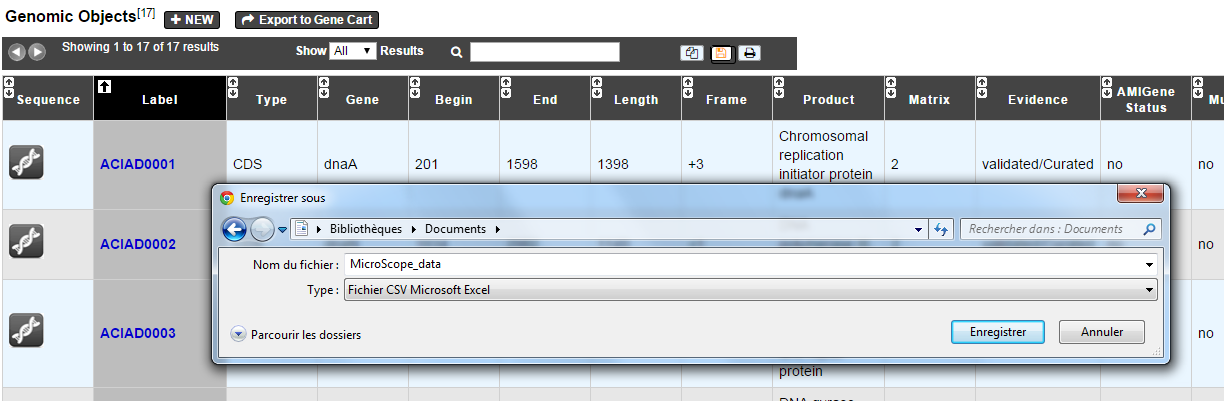
Each result table provides buttons called Copy (1) and CSV (2).

Using the Copy button will copy to clipboard each row of your result table in a tab-delimited text format
Using the CSV button will export your result table in a CSV file, fully compatible with spreadsheets like Microsoft Excel, or Open Office Calc
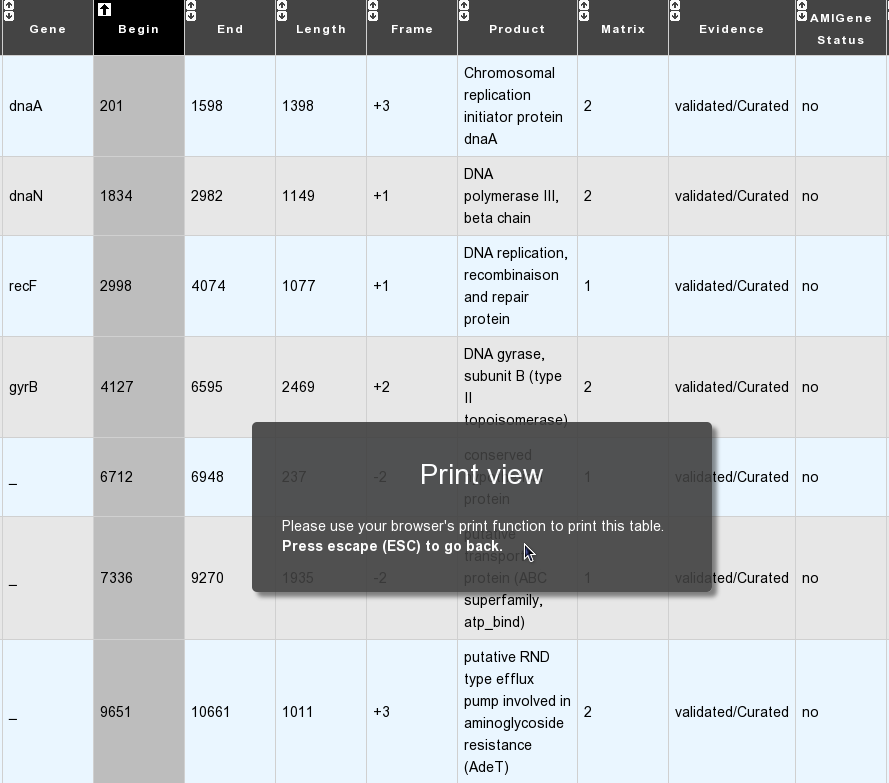
How to print results?
Clicking on the Print button will display only the result table within your current window, hiding all the others HTML elements. Then, use your browser’s menu bar to print the displayed table.
Tip
You can leave the «Print Mode» and go back to the original window by clicking your «ESC (Escape)» key.